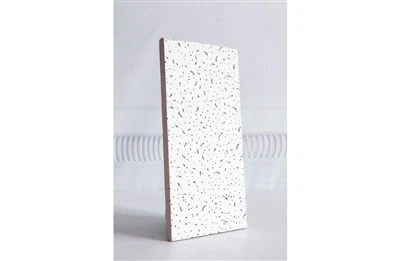
Hey there! I'm a supplier of colored mineral fiber ceiling boards, and I'm stoked to share with you how to install these awesome ceiling boards. Whether you're a DIY enthusiast or a professional contractor, this guide will walk you through the process step by step.
What You'll Need
Before we jump into the installation process, let's gather all the tools and materials you'll need:
- Colored Mineral Fiber Ceiling Boards: You can check out our Square Colors Mineral Fiber Board, Mineral Fiber Wool Ceiling Tiles, or Square Pinhole Mineral Fiber Board for a variety of options.
- Measuring Tape: To measure the ceiling area accurately.
- Utility Knife: For cutting the boards to size.
- Straight Edge: To ensure straight cuts.
- Adhesive: Choose a high-quality adhesive suitable for mineral fiber boards.
- Caulk Gun: To apply the adhesive.
- Screwdriver: If you're using screws to secure the boards.
- Safety Gear: Gloves, goggles, and a dust mask to protect yourself.
Step 1: Measure the Ceiling
The first step is to measure the ceiling area where you'll be installing the colored mineral fiber ceiling boards. Use a measuring tape to measure the length and width of the ceiling. Multiply these two measurements to get the total square footage. This will help you determine how many boards you need to purchase.
Step 2: Prepare the Ceiling
Before installing the boards, make sure the ceiling is clean, dry, and free of any debris. Remove any old ceiling tiles, paint, or wallpaper. If there are any cracks or holes in the ceiling, fill them with spackle and sand them smooth.
Step 3: Plan the Layout
Once you have the measurements and the ceiling is prepared, it's time to plan the layout of the boards. Start by finding the center of the ceiling and marking it with a chalk line. This will help you align the boards and ensure a symmetrical installation. You can also use a straight edge to mark the layout on the ceiling.
Step 4: Cut the Boards
If the boards need to be cut to fit the ceiling, use a utility knife and a straight edge to make the cuts. Measure and mark the boards according to your layout, and then score the boards with the utility knife. Apply pressure to the scored line to break the board along the cut. Make sure to wear gloves and goggles when cutting the boards to protect yourself from the dust.
Step 5: Apply the Adhesive
Using a caulk gun, apply a bead of adhesive along the back of the board. Make sure to apply the adhesive evenly and cover the entire surface of the board. You can also apply adhesive to the ceiling in a zigzag pattern.
Step 6: Install the Boards
Starting from the center of the ceiling, place the first board on the adhesive and press it firmly into place. Use a level to ensure the board is straight and level. If you're using screws to secure the boards, insert the screws through the board and into the ceiling joists. Make sure to space the screws evenly and follow the manufacturer's instructions.

Step 7: Continue Installing the Boards
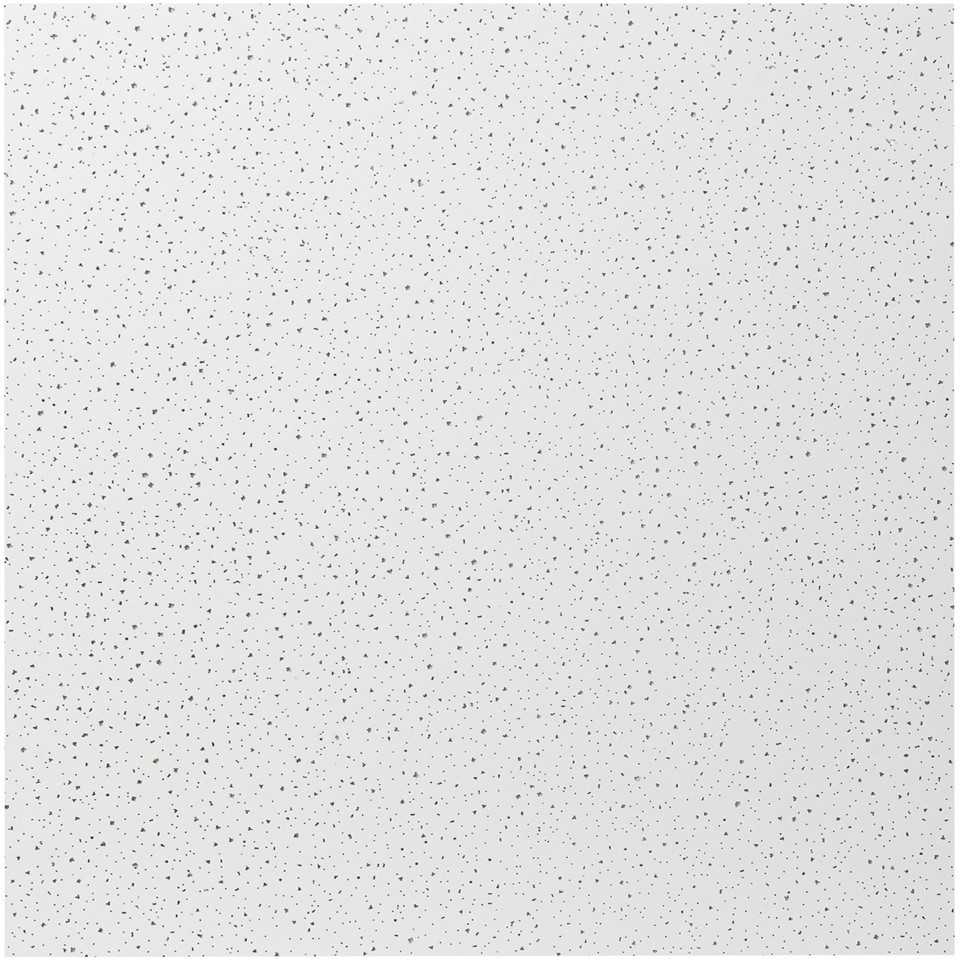
Continue installing the boards one by one, following the layout you planned. Make sure to align the boards properly and leave a small gap between each board to allow for expansion. Use a utility knife to cut the boards to fit around any obstacles, such as light fixtures or vents.
Step 8: Finish the Installation
Once all the boards are installed, use a caulk gun to apply caulk along the edges of the boards to seal any gaps. This will give the ceiling a finished look and prevent dust and moisture from getting behind the boards. You can also paint the boards to match the color of your ceiling or add a decorative finish.
Step 9: Clean Up
After the installation is complete, clean up any debris or dust from the work area. Vacuum the floor and wipe down the walls and ceiling with a damp cloth. Dispose of any leftover materials and tools properly.
Tips and Tricks
- Work in a Well-Ventilated Area: Mineral fiber boards can produce dust when cut, so it's important to work in a well-ventilated area. Open windows and doors or use a fan to circulate the air.
- Use a Backer Board: If you're installing the boards on a ceiling with a lot of movement or vibration, consider using a backer board to provide additional support.
- Follow the Manufacturer's Instructions: Always follow the manufacturer's instructions when installing the colored mineral fiber ceiling boards. This will ensure a proper installation and prevent any issues.
- Take Your Time: Installing ceiling boards can be a time-consuming process, so take your time and do it right. Rushing the installation can lead to mistakes and a less-than-perfect finish.
Conclusion
Installing colored mineral fiber ceiling boards is a great way to enhance the look of your space and add insulation and soundproofing. By following these steps and tips, you can install the boards yourself and save money on installation costs. If you have any questions or need further assistance, feel free to contact us. We're here to help you with all your colored mineral fiber ceiling board needs.
If you're interested in purchasing colored mineral fiber ceiling boards, please don't hesitate to reach out to us for a quote and to discuss your specific requirements. We're committed to providing high-quality products and excellent customer service.
References
- Manufacturer's installation guides for colored mineral fiber ceiling boards.
- DIY home improvement books and magazines.